Campfire Mastery: Build the Perfect Fire for Your Outdoor Adventures
There's something undeniably magical about gathering around a crackling campfire after a day of exploring the great outdoors. Whether you're in the middle of nowhere or just kicking back in your backyard, knowing how to build the perfect campfire is an essential skill for every outdoor enthusiast. From cooking your catch to warming up on a chilly night, the right fire makes all the difference. So grab your firewood, channel your inner pyromaniac (safely, of course), and let's get this fire started!
Understanding the Basics: Fire's Three Best Friends
Before we dive into the different campfire styles, let’s cover the basics. Think of a campfire as a love triangle involving three key elements: fuel, oxygen, and heat. They all have to get along for a fire to thrive. Here’s the rundown:
- Fuel: This is your wood supply, and like any good group of friends, it comes in different shapes and sizes. You’ve got:
- Tinder: Small stuff like dry leaves, grass, or even the mystery lint from your pocket (who knew?). It's like the spark that starts the conversation.
- Kindling: Medium-sized twigs and branches that help the fire grow. Think of these as the enthusiastic friend that keeps the group going.
- Logs/Fuelwood: The big guns. These are your hardwoods like oak and maple for long-lasting warmth, or softwoods like pine if you’re in a hurry to get things hot.
- Oxygen: Just like us after a steep ascent or long hike, fire needs to breathe. Make sure you’re stacking your wood to allow for airflow. No one likes a smothered campfire.
- Heat: This is what keeps the party alive. Your tinder lights the kindling, which in turn lights the logs. It’s a chain reaction of warmth and good vibes.
The Campfire Cast: Different Styles for Different Needs
Now that we've covered the basics, let's get into the nitty-gritty of campfire styles. Each type has its strengths and quirks, just like your favorite hiking buddies. Here are some popular campfire builds:
1. The Teepee Fire
Best for: Cooking and quick warmth.
Design: Think back to your elementary school art class. Arrange your tinder in the center, and stack kindling in a conical shape around it. Lean larger logs like a pyramid. Voilà, you’ve got a teepee!
Advantages:
- Perfect for cooking because the heat goes straight up.
- Gets going fast, ideal for when you’re starving after a day on the trail.
Considerations:
- Burns quicker than your buddy’s campfire stories, so you’ll need to feed it more often.
How to Build:
- Place Tinder: Start with a loose pile of tinder in the center.
- Arrange Kindling: Lean kindling sticks against the tinder, forming a teepee shape.
- Add Logs: Surround the kindling with larger logs in the same shape.
- Ignite: Light the tinder and let the flames spread upwards.
2. The Log Cabin Fire
Best for: Long-lasting fires and cooking.
Design: Build a mini log cabin with your logs. It’s like LEGO for adults, and who doesn’t love that?
Advantages:
- Burns longer, providing steady warmth and a reliable cooking platform.
- The structure makes it easy to add more fuel without disturbing the fire.
Considerations:
- Takes a little longer to get going, but hey, patience is a virtue, right?
How to Build:
- Create the Base: Lay two large logs parallel to each other. Add another two logs on top, perpendicular to the first pair.
- Add Tinder and Kindling: Place tinder and kindling inside the square structure.
- Build Upwards: Keep stacking smaller logs in a crisscross pattern.
- Ignite: Light the tinder and watch the flames spread through the logs.
3. The Log Cabin / Teepee Fire (our co-founder Chris’s Secret Style)
Best for: Quick warmth, long-lasting fires and cooking.
Design: Build a log cabin around a Teepee style fire.
Advantages:
- Burns even longer from a quick start, providing steady warmth and a reliable cooking platform.
Considerations:
- Takes even a little longer to get going. That said, will last longer than the average cast iron you’ll be using to cook up some good grub.
How to Build:
- Place Tinder: Start with a loose pile of tinder in the center.
- Arrange Kindling: Lean kindling sticks against the tinder, forming a teepee shape.
- Add Logs: Surround the kindling with larger logs in the same shape.
- Ignite: Light the tinder and let the flames spread upwards.
- Create the Base: Lay two large logs parallel to each other. Add another two logs on top, perpendicular to the first pair.
- Build Upwards: Keep stacking smaller logs in a crisscross pattern.
4. The Lean-To Fire
Best for: Wet conditions and windy environments.
Design: Use a big log as a windbreak and lean kindling against it, with tinder underneath. It’s like a cozy little shelter for your fire, adorable.
Advantages:
- Great for windy or damp days when the elements are against you.
- Protects your precious tinder from the weather, ensuring a successful start.
Considerations:
- Not the longest-lasting fire, so keep an eye on it to maintain the burn.
How to Build:
- Position the Large Log: Place it as a windbreak.
- Place Tinder and Kindling: Lean kindling against the log with tinder beneath.
- Ignite: Light the tinder and let the fire grow upward.
5. The Dakota Fire Hole
Best for: Stealth camping, cooking, and efficient heat production.
Design: Dig a hole in the ground with a connecting tunnel for airflow. It’s like a secret underground lair for your fire. James Bond would be proud.
Advantages:
- Burns hot and efficiently with minimal smoke. Stealthy and smart.
- Perfect for cooking without drawing attention to your campsite.
Considerations:
- Takes some effort to construct and isn’t ideal for rocky terrain.
How to Build:
- Dig the Main Hole: About 12 inches deep and wide.
- Dig the Air Tunnel: Connect a smaller hole nearby to the main one underground.
- Add Tinder and Kindling: Place them at the bottom of the main hole.
- Ignite: Light the tinder and enjoy the covert heat.
6. The Star Fire
Best for: Conserving wood and controlling burn rate.
Design: Arrange logs in a star pattern, with their ends meeting in the center. As the logs burn, you slide them inward, just like tuning a campfire symphony.
Advantages:
- Allows precise control over how fast or slow your fire burns.
- Efficient in conserving wood, perfect for those minimalist camping trips.
Considerations:
- Requires some babysitting to maintain, but hey, practice makes perfect.
How to Build:
- Arrange the Logs: Place four to six logs in a star pattern with ends meeting in the center.
- Add Tinder and Kindling: Place tinder and kindling in the center.
- Ignite: Light the tinder and let the flames catch the logs.
- Adjust as Needed: Slide logs inward as they burn to keep the fire going.
7. The Swedish Torch (Log) Fire
Best for: Cooking and providing a stable, long-lasting heat source.
Design: Split a single log vertically and build a fire inside. It stands upright, resembling a torch. It’s like the all-in-one campfire solution.
Advantages:
- Provides a stable cooking platform with long-lasting heat.
- Minimal smoke and maximum heat output—your mom would call this efficient.
Considerations:
- Requires a good-sized log and tools to split it.
How to Build:
- Select a Log: Choose a log about 12-18 inches in diameter.
- Split the Log: Use a saw or axe to split it vertically, keeping the bottom intact.
- Add Tinder and Kindling: Place them in the cuts at the top of the log.
- Ignite: Light the tinder and let the fire burn inside.
8. The Keeping It Real Log (our other co-founder Nick Rader's Secret Sauce)
Best for: Keeping the fire (and the party) going strong.
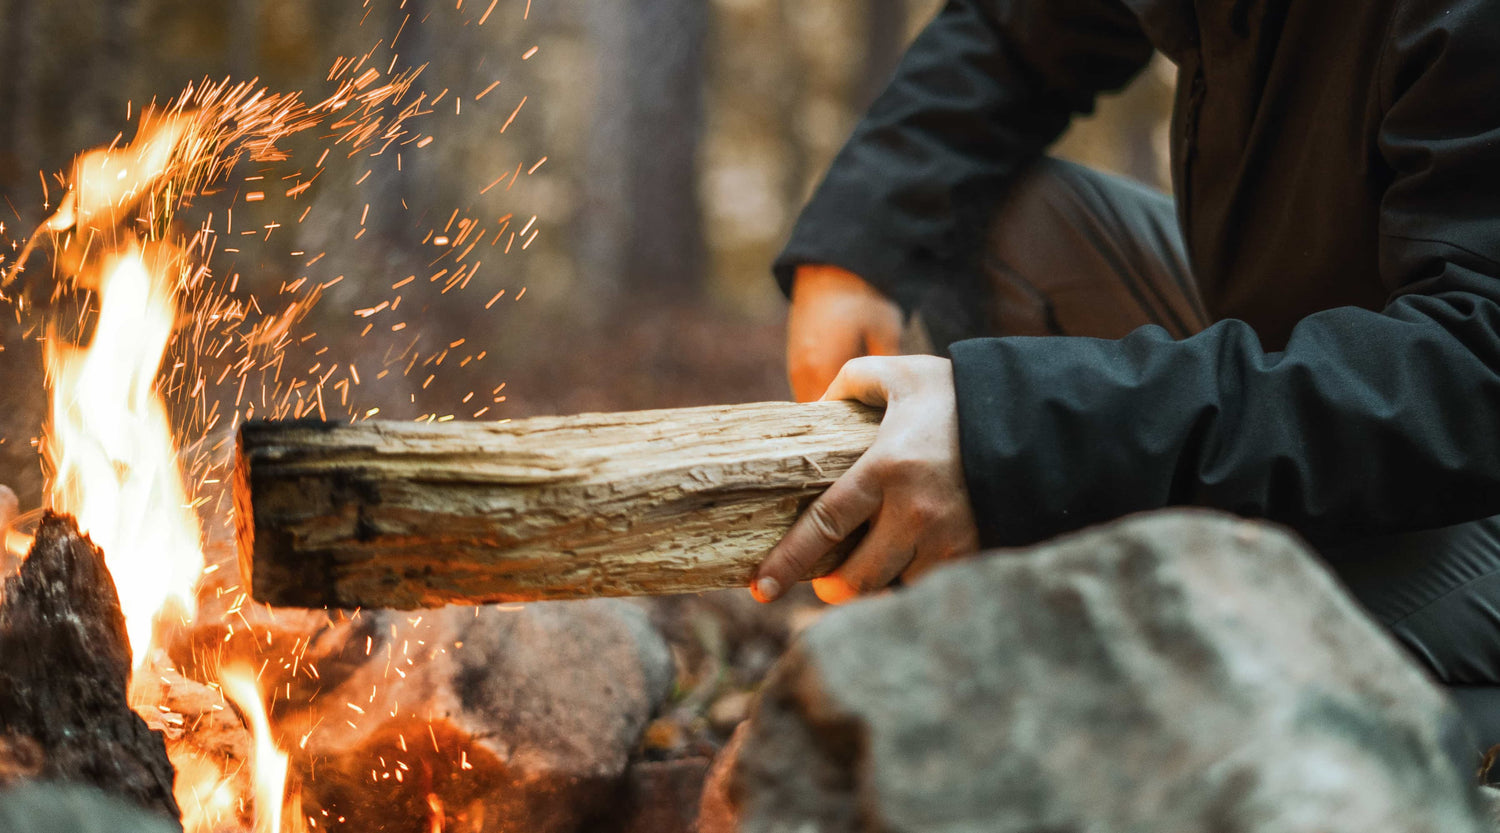
Design: After establishing one of the above fire styles, find a massive log from the area you're camping in. Once a good amount of embers have developed, place this log on the fire to keep it real—both in terms of warmth and fun.
Advantages:
- Provides extended burn time, so you can enjoy more stories, more laughs, and maybe even a few campfire songs.
- Once placed, it requires minimal attention, freeing you up for other activities, like roasting marshmallows or perfecting your ghost stories.
Considerations:
- Finding the right log may take some searching, but it’s worth the effort.
- Finding the right group of friends may take some searching, but it’s worth the effort.
- Make sure your fire is strong enough to handle the extra weight.
- Make sure your friend group is strong enough to handle the extra party pressure.
How to Build:
- Select a Massive Log: Look for a solid, sizable log in your surroundings.
- Develop Embers: Use any campfire style to build a strong fire with a substantial ember base.
- Place the Log: Once your fire has established embers, place the massive log directly on top.
- Let It Burn: Enjoy the extended warmth and ambiance of your campfire.
Quick Reference: Campfire Styles
|
Fire Type |
Best For |
Advantages |
Considerations |
|
Teepee Fire |
Cooking, Quick Warmth |
Fast ignition, focused heat |
Burns quickly, requires frequent feeding |
|
Log Cabin Fire |
Long-lasting fires, Cooking |
Steady burn, stable cooking platform |
Takes longer to ignite, needs more wood |
|
Lean-To Fire |
Wet/Windy Conditions |
Protects from wind/moisture |
Requires steady supply of fuel |
|
Dakota Fire Hole |
Stealth, Efficient Heat |
Concealed, efficient heat, low smoke |
Labor-intensive, not suitable for rocky or frozen ground |
|
Star Fire |
Wood Conservation, Control |
Controls burn rate, conserves wood |
Frequent adjustment needed, best in calm weather |
|
Swedish Torch |
Cooking, Long-lasting Heat |
Stable heat source, minimal smoke |
Requires large log and tools, not suitable in all environments |
|
Keeping It Real Log |
Extended Fire, Entertainment |
Long-lasting burn, minimal attention |
Requires a large log, strong ember base |
Tips for Building the Perfect Campfire
- Site Selection: Pick a safe spot away from flammable materials and windy areas. Always use existing fire rings when possible, and make sure Smokey Bear would approve.
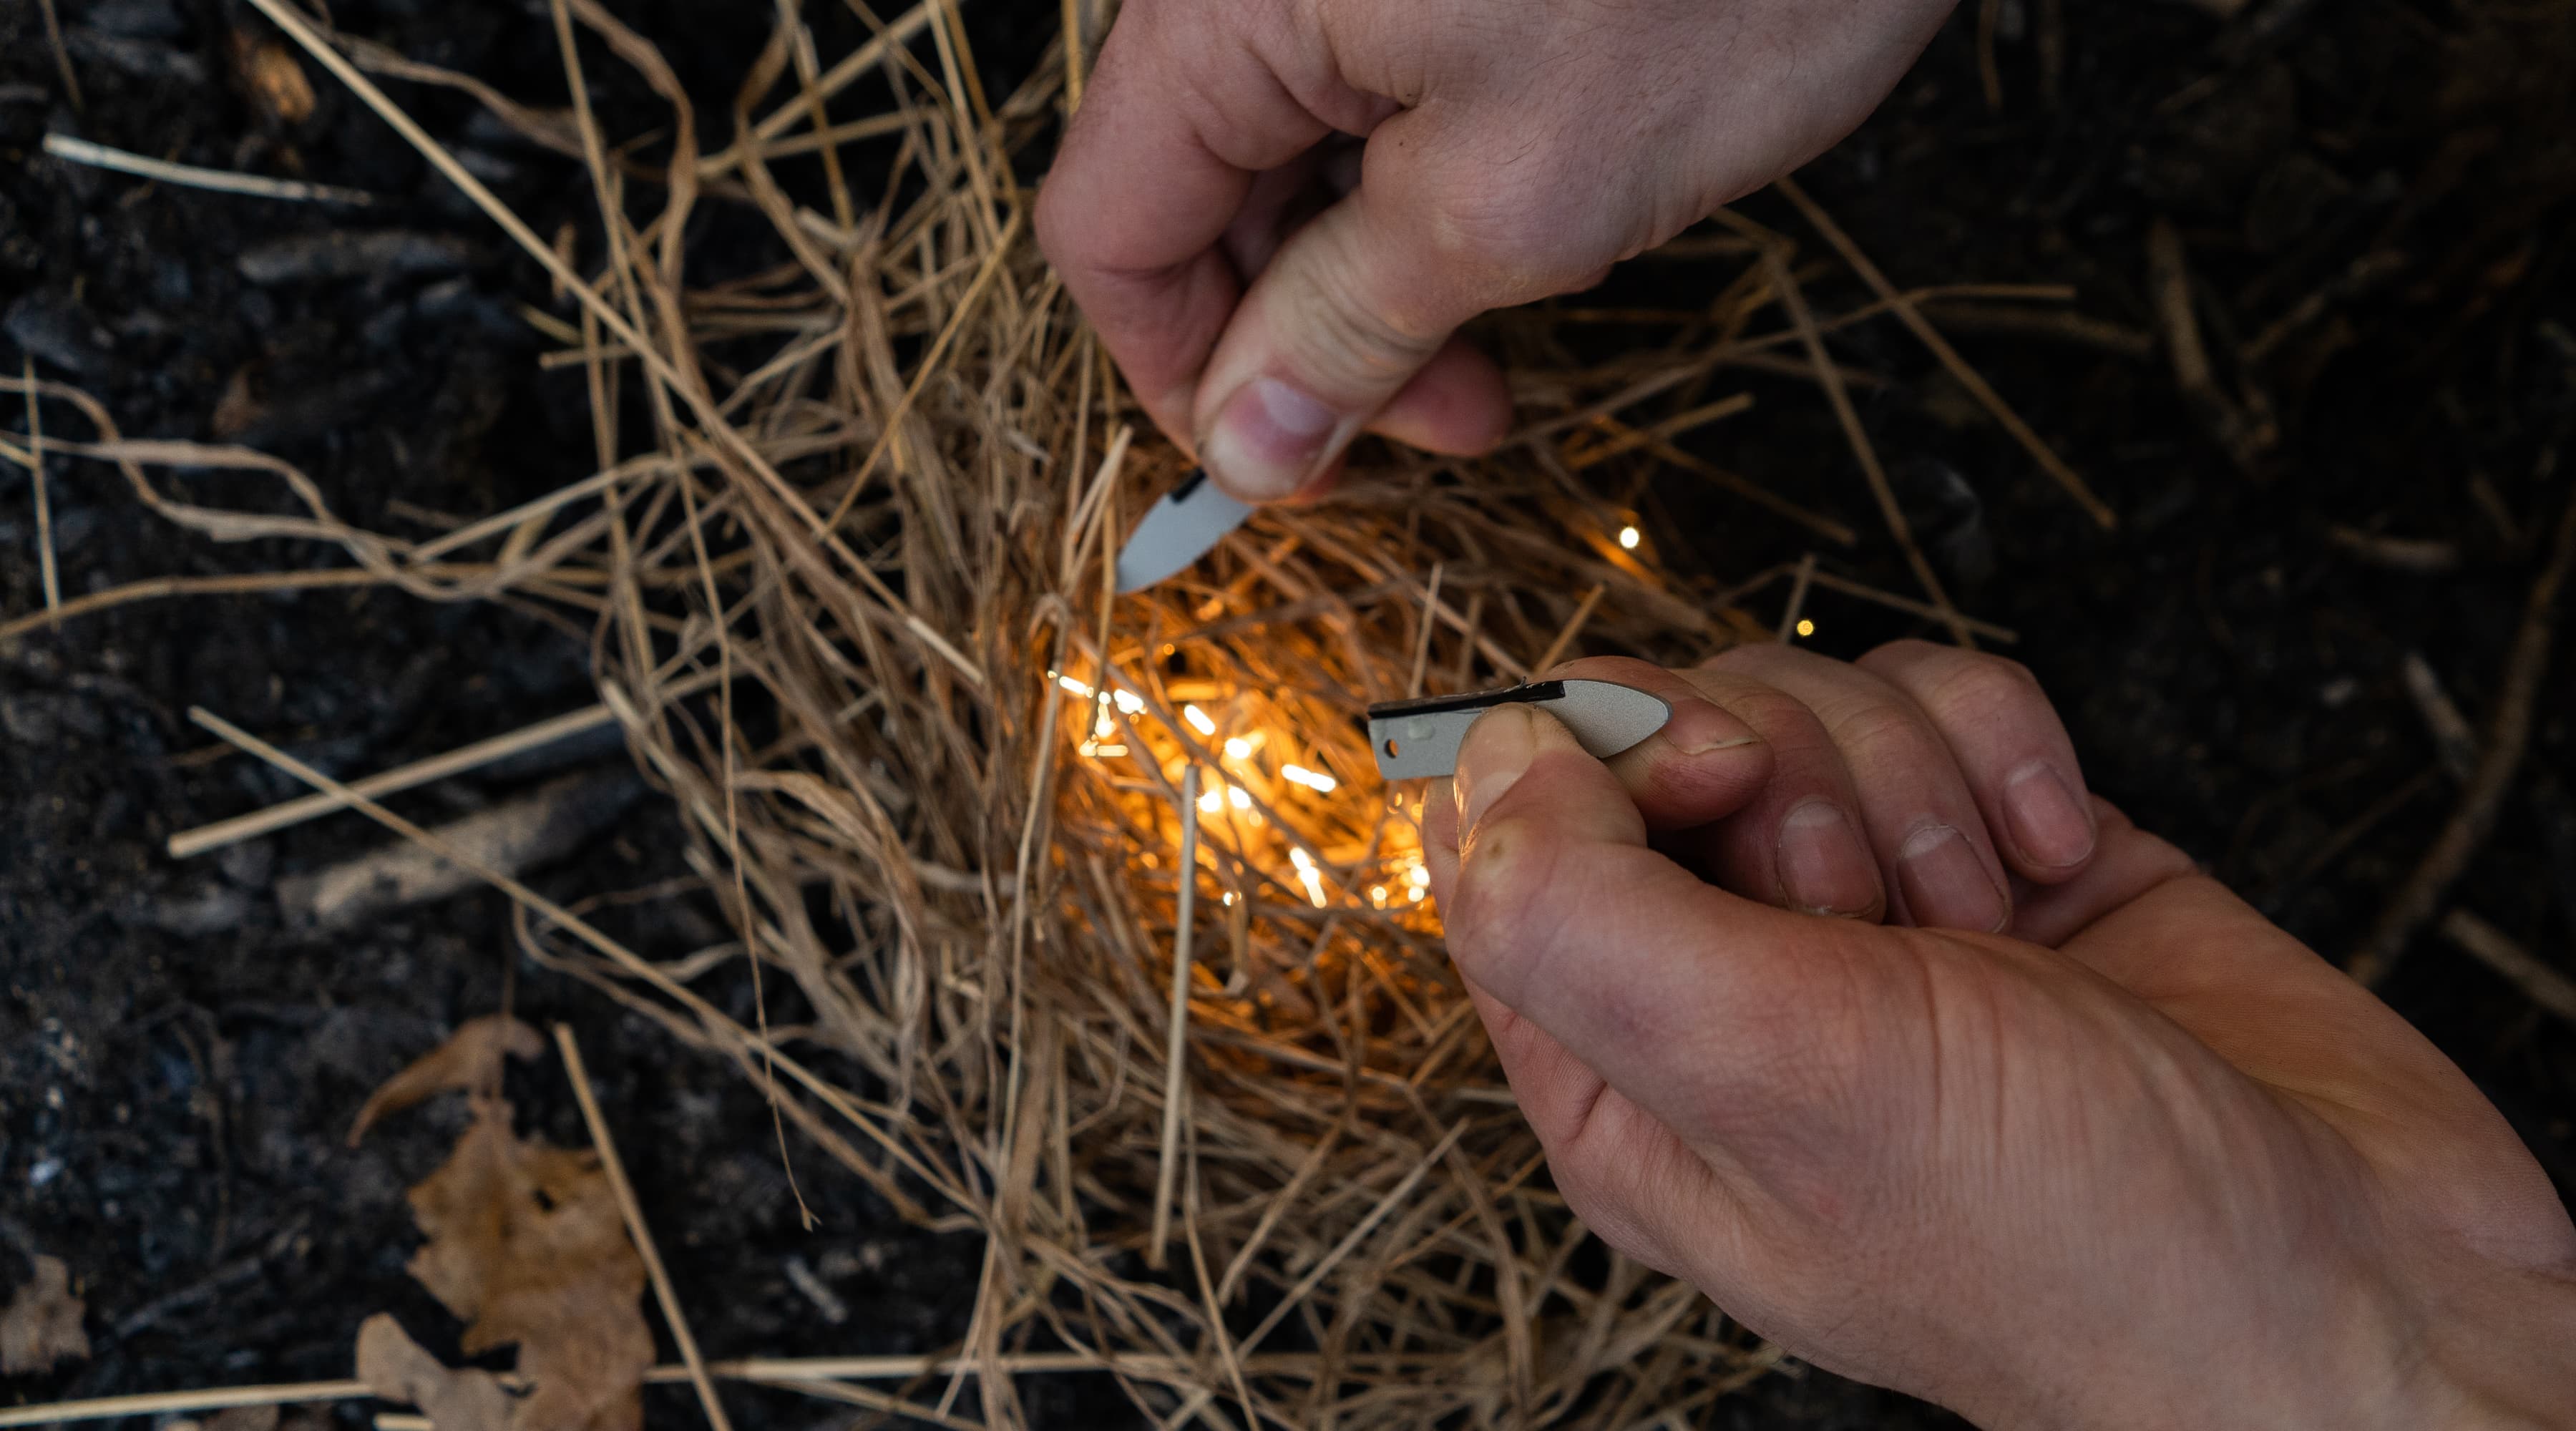
- Firestarter Materials: A trusty fire starter kit is your best friend. Waterproof matches, lighters, and even a ferrocerium rod can make all the difference between fire success and eating cold beans. Again.
- Extinguishing the Fire: Like your middle school teacher always said, “Safety first!” Always have water, sand, or dirt ready to put out the fire completely when you're done. Ensure all embers are out before leaving the site.
- Leave No Trace: Respect the environment by minimizing your impact. Use established fire rings, avoid building fires near vegetation, and pack out what you pack in.
Wrapping Up
Now that you're armed with all this campfire knowledge, you’re ready to take on the great outdoors with confidence. Whether you’re roasting marshmallows with friends or just soaking up the warmth, the right campfire can make your outdoor adventures unforgettable. So get out there, explore, and enjoy the flames—but remember to keep safety and nature top of mind. Happy camping!
With these tips and techniques, you'll be the campfire guru your friends never knew they needed. Now go forth, embrace the great outdoors, and remember: a good campfire is like a good joke. Timing, delivery, and a little bit of patience make all the difference. (more patiencerequired for Chris's jokes than his fires...)

